Views help Quantivly users save time by making dashboard/report filters and settings reusable for quick access.
This lets you quickly return to the same setup whenever you need it, without having to reconfigure every time. You can also favorite these views for rapid access, too.
Before you start
Requirements : This feature is available to all platform versions starting 2.1.15
How to use view
Creating a view
Creating your first view
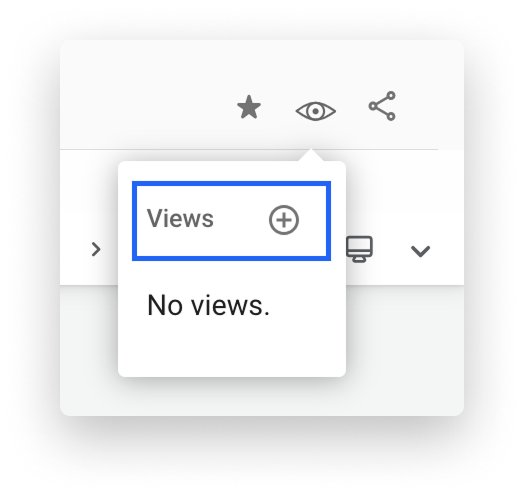
Once you have configured filters in a dashboard or adjusted properties to display on a page (for example, the Examination Review App), you can create a view by clicking on the ‘eye’ icon at the top right corner of the screen.
![]()
A dropdown will open – click the ‘+’ button to add your first view.

Click ‘Add’. You will see a confirmation message that your view was successfully created. From that point, your view is accessible from the eye icon from that page.
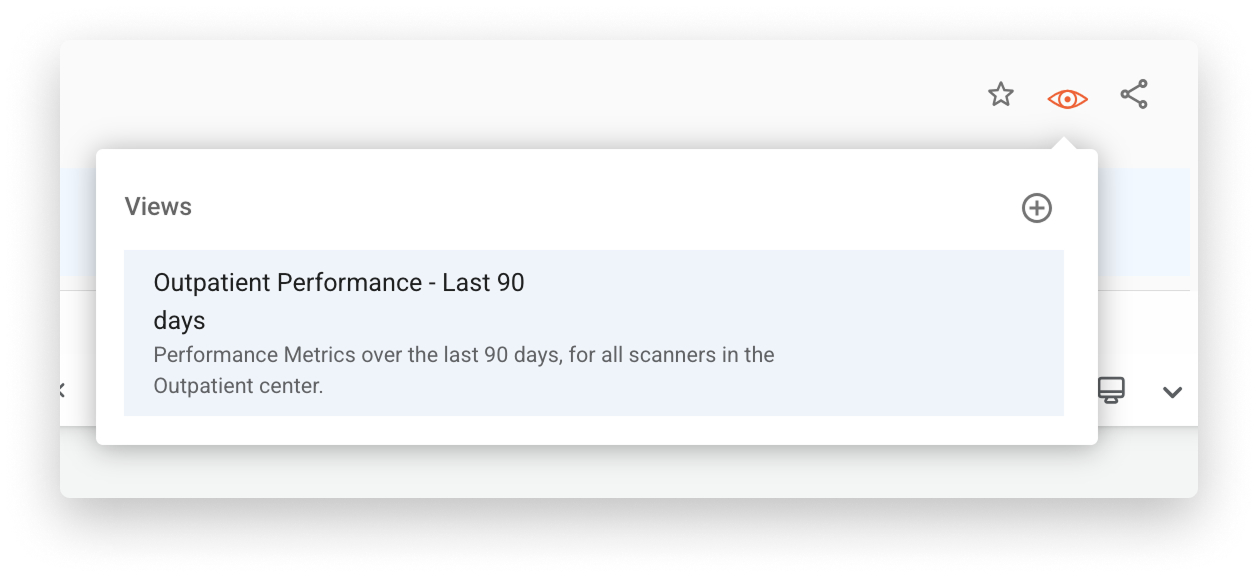
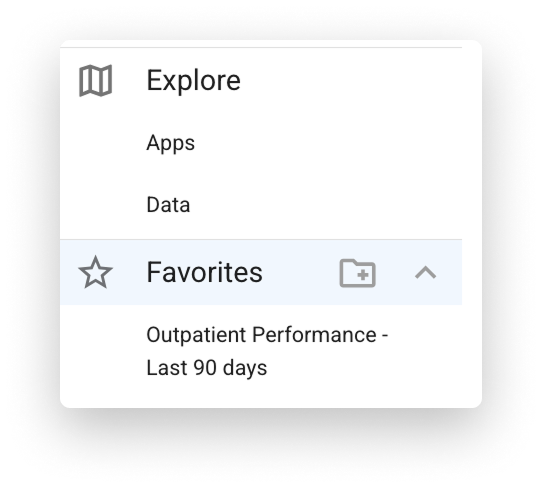
You can also favorite that view with the ‘star’ button. If you favorite a view, it will appear in the left menu for quick access.
Notes
You cannot create two views with the same name and for the same dashboard/report/page.
Views are private – they are only visible to you
Views will save time filters, attribute filters, display preferences
Compatible visualizations and feature
Here is a list of visualizations where views are available :
All Grafana dashboards
Exam review app
All new visualizations will be compatible with views.
Marking a view as default
When creating (or editing) a view, you can mark it as default.
.png)
As a result, the settings/properties/filters associated with that view will load by default every time this page loads.
Default views are only for you – they don’t impact other users.
Managing views
Editing a view
Title and description
You can modify a view title or description at anytime by clicking on the ‘pen’ icon – it will open a modal where you can modify the content.

Filters and settings
If you open a view and start editing properties/filters, you will see a blue dot above the view icon. This indicates that you are modifying a view.
Click on the view icon and click on the pen icon to update the view with the recently added properties/filters.
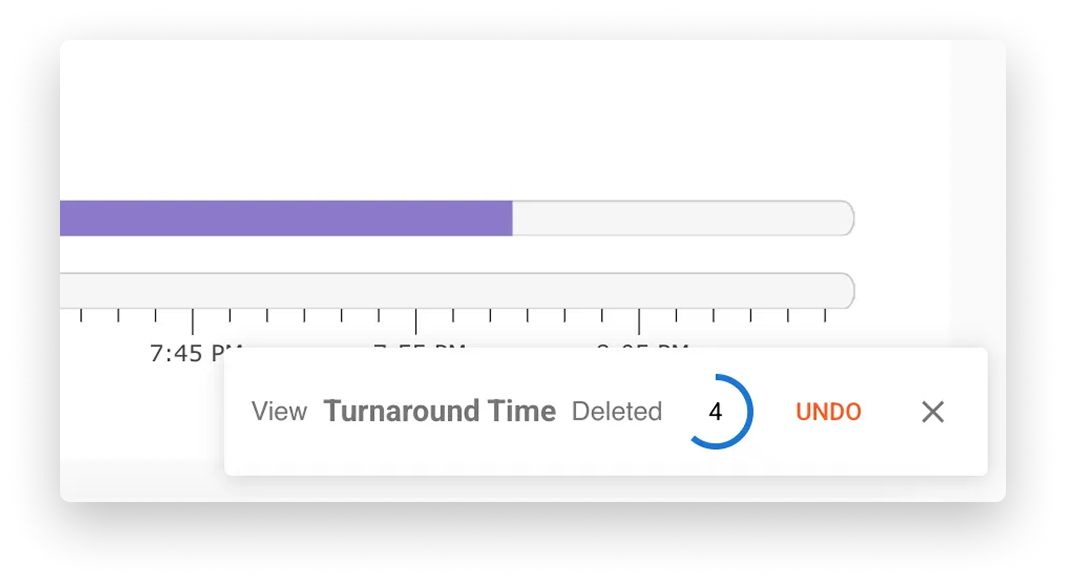
Deleting a view
To delete a view, simply click on the ‘trash’ icon in the view dropdown.
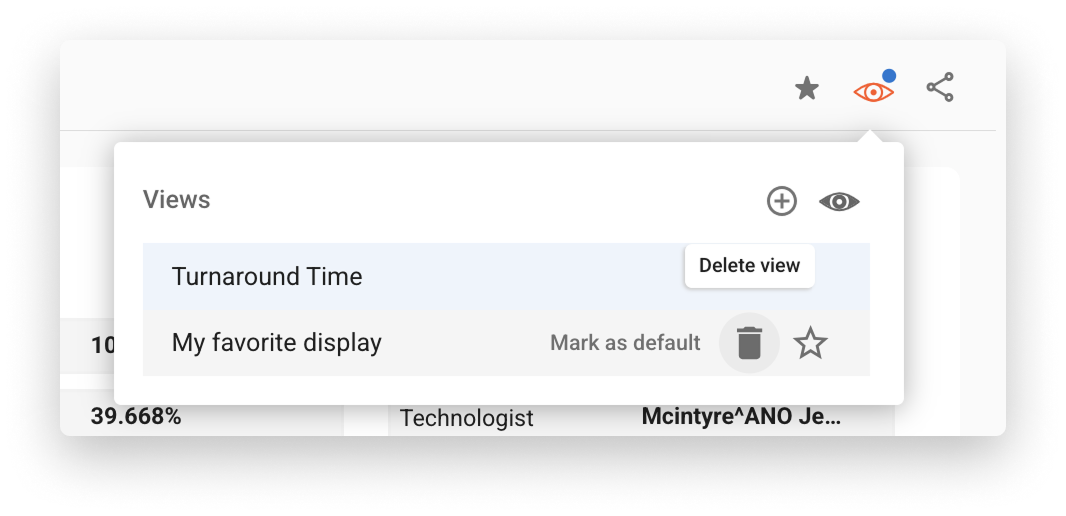
You will be prompted to confirm. Upon confirmation, you will see a popup. You’ll have a few seconds to undo your action if you made a mistake.